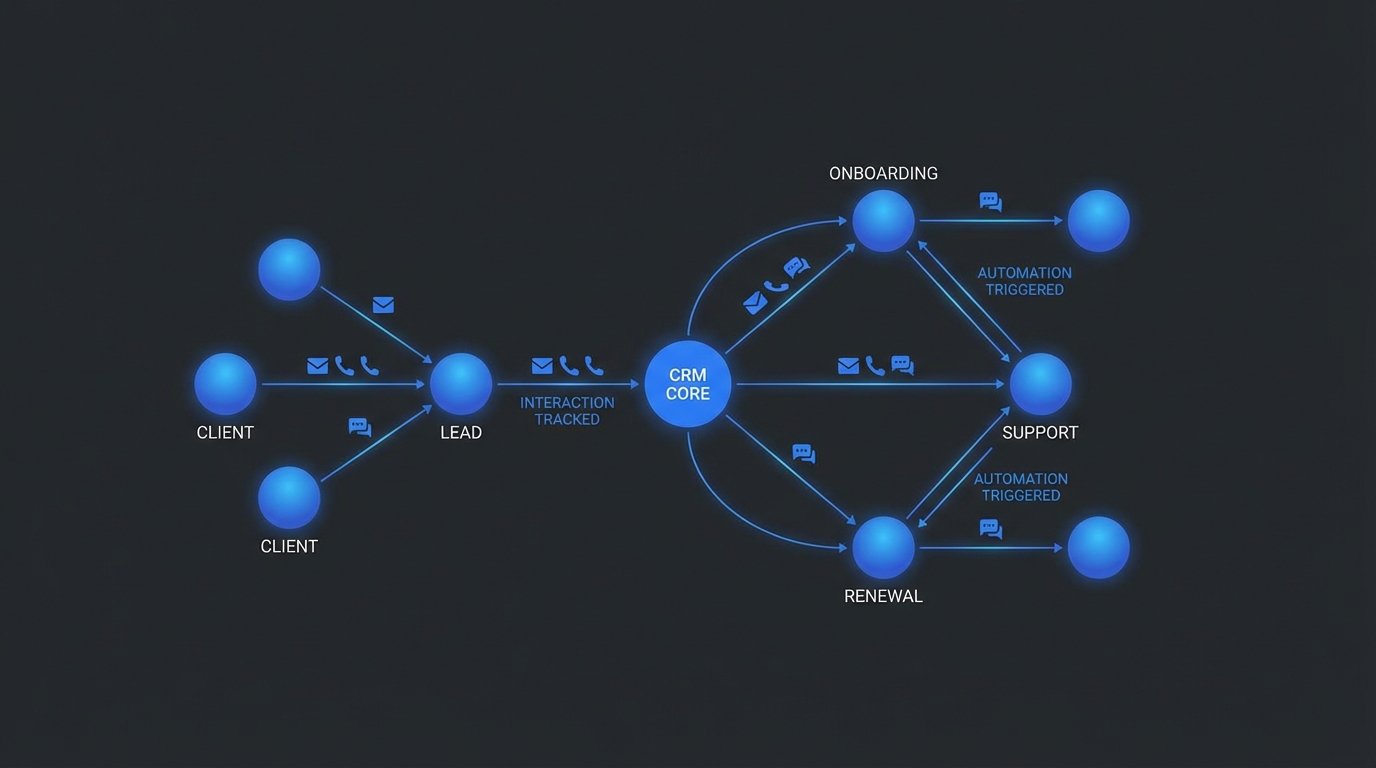
I wasted half of Monday chasing down a client interaction record. It was supposedly in our Airtable base, but nobody had logged the call. The client was asking about a conversation from two weeks ago, and I had zero context. This manual entry nonsense is a huge failure point. If a human has to remember to log something, they will eventually forget. So I blocked off my afternoon and built a proper workflow in n8n to pipe interactions from email and calendar events directly into our CRM, which for us is just a glorified Airtable base.

Setting Up the Trigger: Capturing the Interaction
First thing is to decide on the entry point. Where do client interactions happen? For us, it’s primarily email and calendar invites for calls. You could use a form submission tool or a webhook from a proper phone system, but let’s stick to the basics. I dislike the native Gmail node in n8n. It’s fine for simple stuff, but polling for new emails feels inefficient. I prefer a more direct approach.
The Pipedream/Webhook Method
My preferred stack for this is a dedicated webhook listener. I use a small Pipedream workflow that triggers on new emails to a specific address (e.g., clients@mycompany.com) or I use a service that can convert emails to webhooks. This gives me a clean JSON payload to work with from the start. The workflow’s job is to do one thing: grab the raw email data and POST it to my main n8n webhook URL. This separation of concerns keeps the main logic clean. The Pipedream workflow is just a trigger and forwarder. The n8n instance handles all the heavy lifting of parsing, data enrichment, and database insertion.
The webhook in n8n receives a payload that looks something like this, a big unstructured blob of data from the email service.
{
  "headers": {
    "from": "Client Name <client@example.com>",
    "to": "Project Manager <pm@mycompany.com>",
    "subject": "Re: Project Phoenix Update",
    "date": "2023-10-27T10:00:00Z"
  },
  "body_text": "Hey team,\n\nFollowing up on our call. We need to adjust the timeline for the Q4 deliverables. Can we connect next week?\n\nThanks,\nClient Name",
  "attachments": []
}
This is our starting point. It’s messy, but it contains everything we need: sender, subject, and the content of the interaction.
Data Normalization: Cleaning Up the Mess
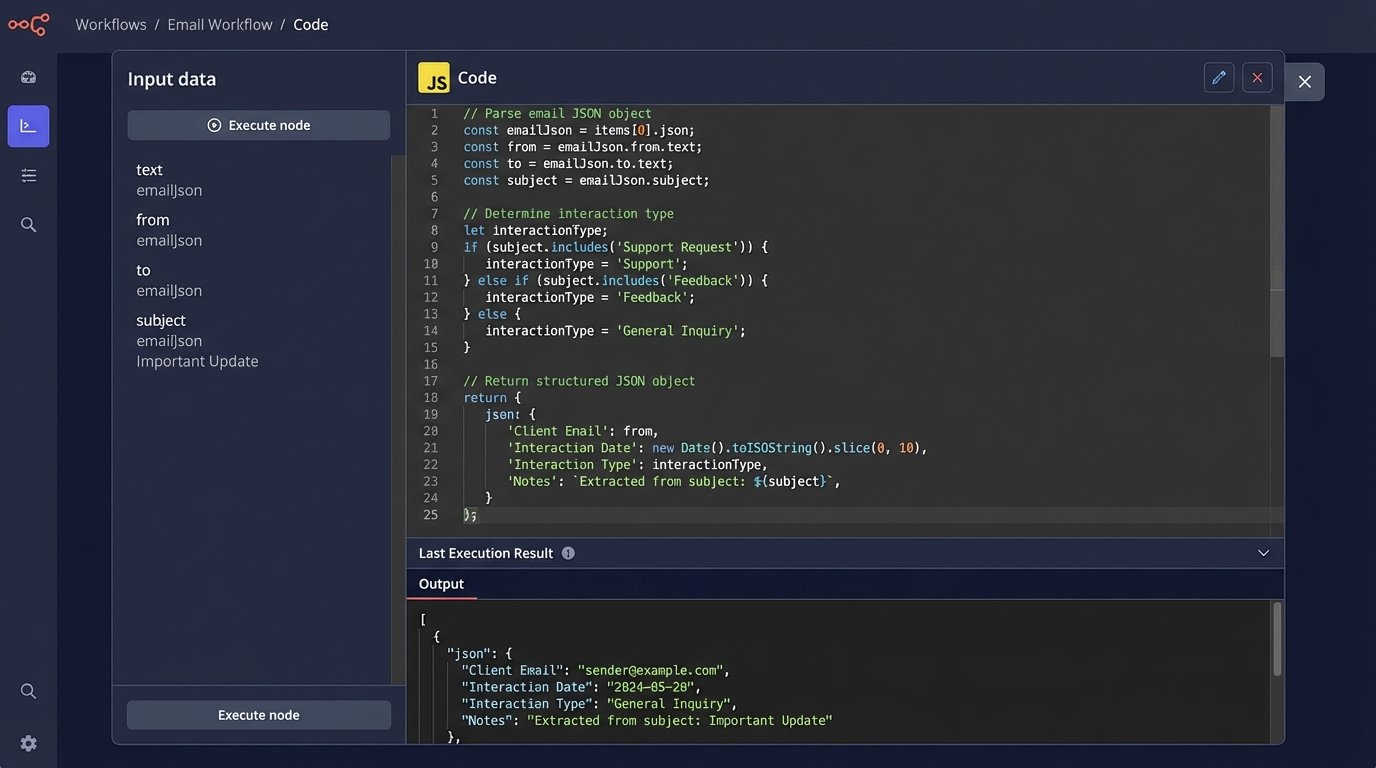
The raw JSON is useless for our CRM. Airtable needs structured data. The next step is to tear apart this object and map it to our required fields: Client Email, Interaction Date, Interaction Type, and Notes. This is where a Code node in n8n comes in. I stopped using a series of Set nodes for this kind of work because it gets confusing fast. One Code node with clear JavaScript is far more maintainable.
Parsing Key Information
First, we need the client’s email. We can get this from the “from” header. But what if the interaction is an outbound email from us? Then the client’s email is in the “to” field. The logic has to account for directionality. I use a simple conditional check to see if the “from” domain matches our company domain. If it does, it’s an outbound interaction. If not, it’s inbound.
Next is the “Interaction Type.” This requires some ugly but functional logic. I use a switch statement or a series of if-else checks on the email subject.
- If the subject contains “Meeting Invitation” or “Accepted:”, the type is “Call”.
- If the subject contains “Invoice” or “Payment”, the type is “Billing”.
- Everything else defaults to “Email”.
This is a brittle approach. A client could use a weird subject line and break it. But for 80% of interactions, it works, and that’s better than the 0% that were getting logged before. Perfect is the enemy of done.
Structuring the JSON for Airtable
The Code node’s entire purpose is to transform that chaotic input into a clean, structured object that matches the Airtable API’s expectations. All the parsing logic lives here.
const rawData = $json.body;
const fromEmail = rawData.headers.from.match(/<(.*?)>/)[1];
const toEmail = rawData.headers.to.match(/<(.*?)>/)[1];
const subject = rawData.headers.subject.toLowerCase();

let interactionType = 'Email';
if (subject.includes('meeting') || subject.includes('call')) {
  interactionType = 'Call';
} else if (subject.includes('invoice')) {
  interactionType = 'Billing';
}

const isOutbound = fromEmail.includes('@mycompany.com');
const clientEmail = isOutbound ? toEmail : fromEmail;

const output = {
  "Client Email": clientEmail,
  "Interaction Date": rawData.headers.date,
  "Interaction Type": interactionType,
  "Notes": `Subject: ${rawData.headers.subject}\n\n${rawData.body_text}`,
  "Direction": isOutbound ? "Outbound" : "Inbound"
};

return output;
This JavaScript snippet takes the input JSON, rips out the relevant parts, applies our simple classification logic, and builds a new object. This `output` object is what gets passed to the next node in the workflow. It’s clean and predictable.
The Final Push: Upserting into Airtable
With our data properly formatted, the last step is to get it into Airtable. I see a lot of people build complex branching logic with “Find Record” then “If Found, Update” and “If Not Found, Create.” This is a waste of nodes and operations. The Airtable API supports an upsert operation, and the n8n Airtable node does too.
Why Upsert is Superior
An upsert operation tells the database to update a record if it exists, or create it if it does not. This is handled in a single API call. You configure the Airtable node to “Update/Create” and specify a key field to check for existing records. For our main client list, this would be the “Client Email” field.
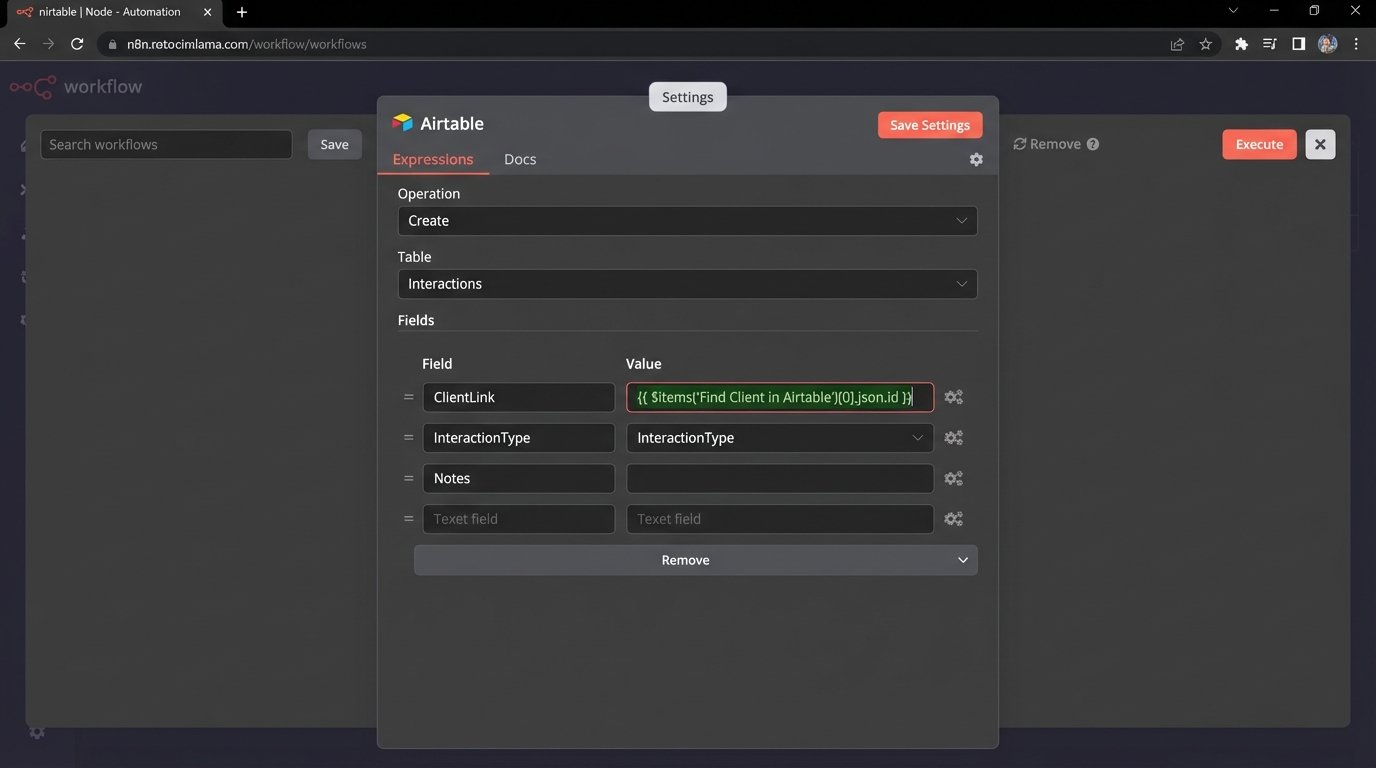
But for an interaction log, we aren’t updating past interactions. We are always creating new ones. So the Airtable node is set to “Create”. However, we need to link this new interaction record to the correct client record. This requires another step. Before the “Create Interaction” node, add an Airtable “Get Record” node that finds the Client record ID based on the `clientEmail` from our Code node.
The final payload sent to the Airtable “Create Record” node for the Interactions table looks like this.
{
  "fields": {
    "Interaction Date": "{{ $json["Interaction Date"] }}",
    "Interaction Type": "{{ $json["Interaction Type"] }}",
    "Notes": "{{ $json.Notes }}",
    "Direction": "{{ $json.Direction }}",
    "ClientLink": [
      "{{ $items('Find Client in Airtable')[0].json.id }}"
    ]
  }
}
The `ClientLink` field is the critical part. It uses an n8n expression to pull the record ID from the previous “Find Client” node. This creates the relational link in Airtable. Now, every email or calendar event is a new, automatically logged record, attached to the right client. No more digging through sent folders to figure out what was said two weeks ago.